Add Webex Workspace Integration for Webex Registered Endpoints
Introduction
This guide will take you through setting up Webex integration in Management Suite using Integrations in Admin Webex under Workspaces.
*This method currently supports 1 Management Suite per Webex Tenant*
Prerequisites
Webex - Full Admin to start integration and token generation.
Network/Firewall - Management Suite: ensure that your Management Suite server can reach
admin.webex.com
*.wbx2.com
Multiple subdomains/servers are present for wbx2.com E.G. xapi-a.wbx2.com, xapi-r.wbx2.com
Management Suite version 30.06.3709 or newer
Step-by-Step
Adding Integration in Management Suite
- In Management Suite navigate to Integrations Settings in Config Tool.
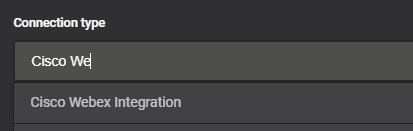
- Add Connection and select Cisco Webex Integration
- It will allow you to add a name to the integration including some basic information.
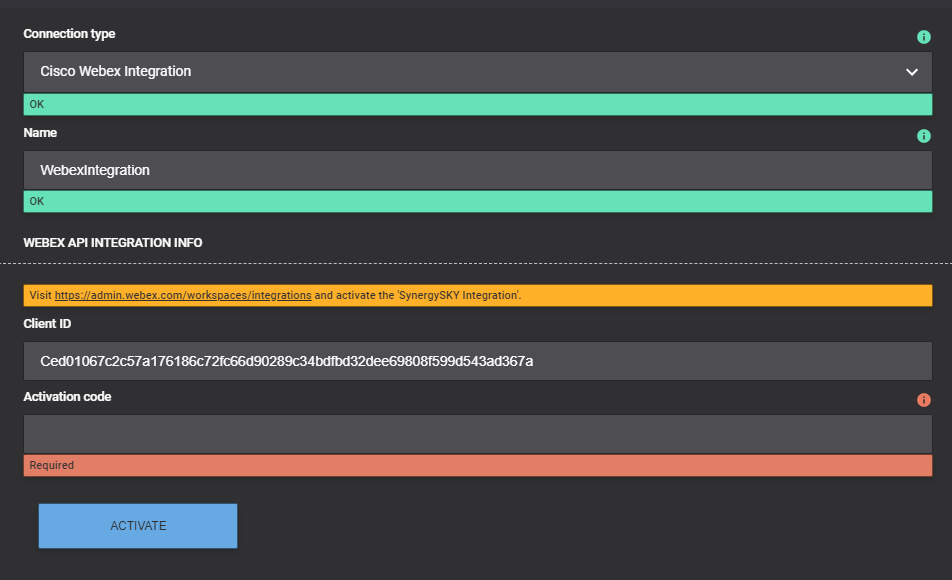
- Click on the hyperlink in the yellow box which will bring you to admin.webex.com/workspaces/integrations to start the activation process.
- User/Admin needs to have full admin rights assigned.
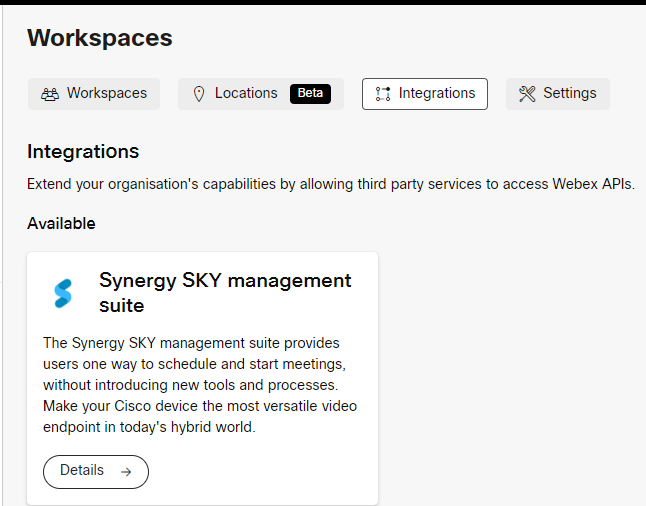
- Click Synergy SKY Management Suite, this will display some details including Permissions.
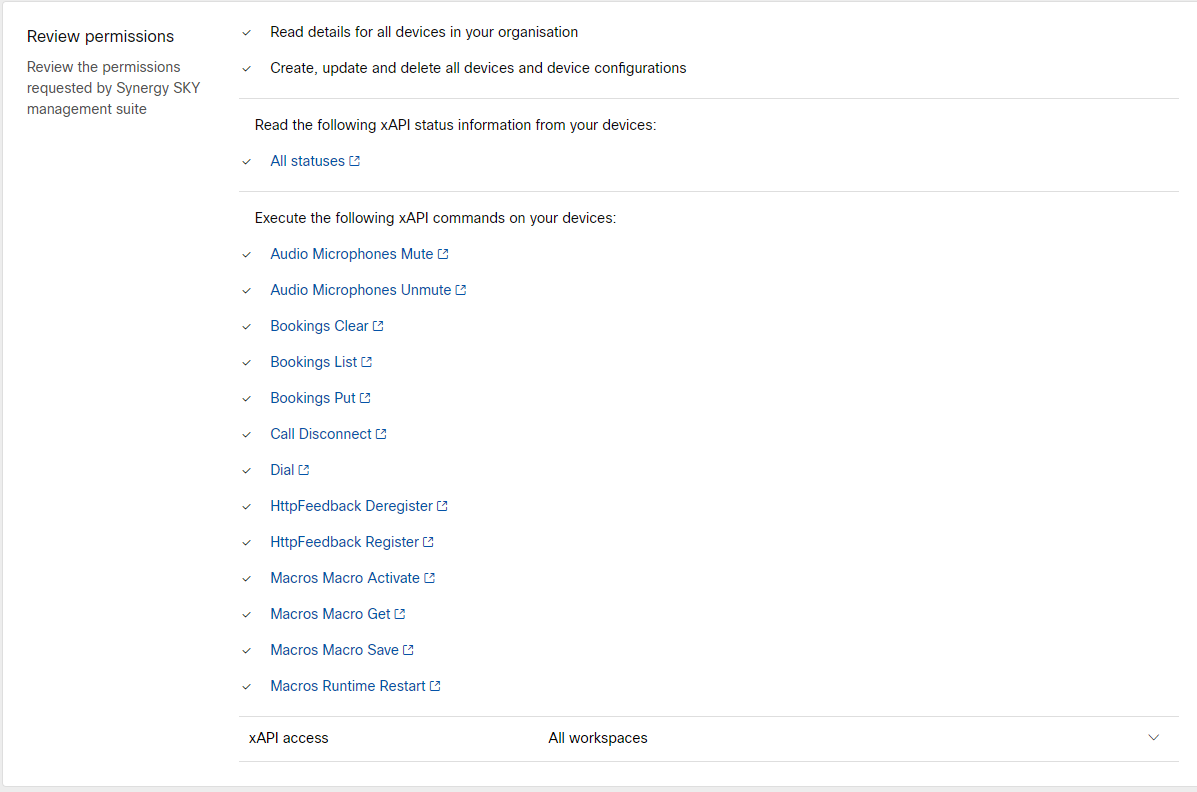
- Click Activate in top right corner, this will prompt all permissions to be listed for review.
- Proceed by clicking Activate in the bottom right, this will provide an activation code. Copy to clipboard.
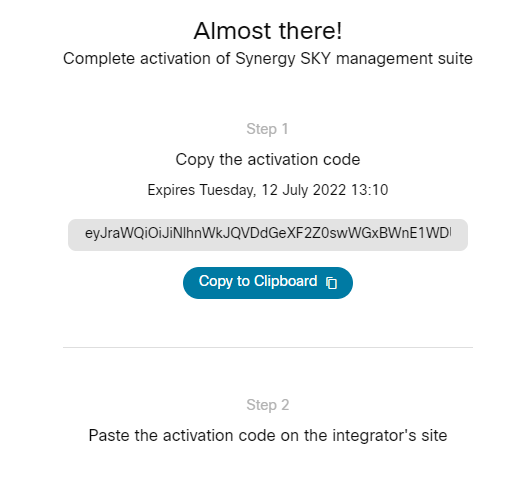
- Head back to Management Suite config and paste the Activation Code into the Activation Code field and click Activate.
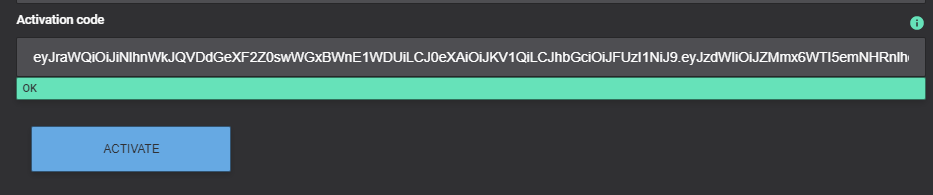
- When activation completes it will test connection and update from Activation code to Refresh Token and click Save

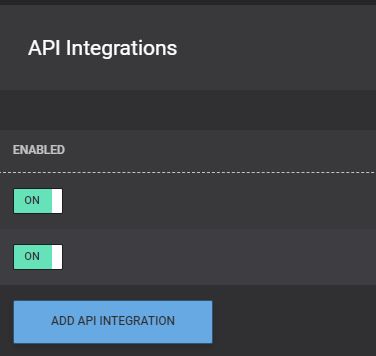
- Under API Integration Click Add API Integration
- Select Webex under Used for and under Connection select the new Webex Integration and ensure it is enabled
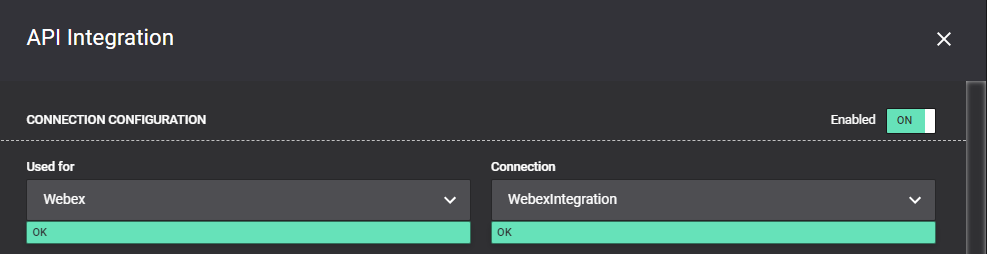
- Click Save, Save Changes and you are ready to add Webex Registered Endpoints under Video Systems.

Jump to...


